

Backup Strategy for a Dockerized MongoDB Replica Set: Disaster Recovery You've Actually Tested
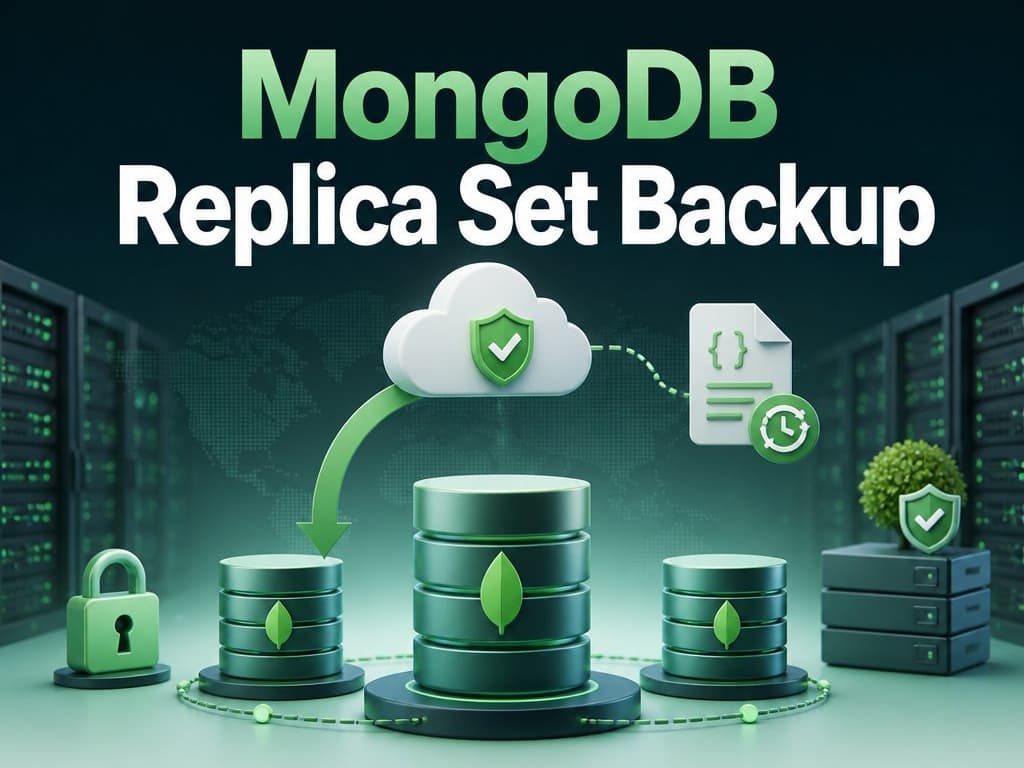
A replica set isn't a backup — it protects against a dead node, not a dropped collection or a bad migration. Here's the mongodump/oplog setup I actually run against a Dockerized MongoDB replica set, why restore testing is the step everyone skips, and when to graduate to filesystem snapshots or PBM i
Backup Strategy for a Dockerized MongoDB Replica Set: Disaster Recovery You've Actually Tested
A replica set is not a backup. That sentence gets repeated so often it's become a cliché, and clichés are usually true — a replica set protects you against a node dying, not against a bad migration, a dropped collection, or a compromised container that rm -rfs a volume across every member at once. If your Dockerized MongoDB cluster only has replication and no separate backup, you have high availability and zero disaster recovery.
Here's the strategy I actually run in production, on a Docker-based VPS stack with a multi-member MongoDB replica set behind a multitenant CRM backend — verified against current MongoDB and Percona guidance, not copied from a five-year-old tutorial.
Tip
TL;DR — Use mongodump --oplog against a secondary for logical, point-in-time-consistent backups under a few hundred GB. Move to filesystem/volume snapshots or Percona Backup for MongoDB (PBM) once you're past that size or need faster restores. Either way: keep a healthy oplog window, store backups offsite and encrypted, and — the part almost everyone skips — actually run a restore on a schedule, not just a backup.
Logical backup vs. physical snapshot
mongodump --oplog |
Filesystem/volume snapshot | |
|---|---|---|
| Consistency | Point-in-time, if --oplog captures the change log during the dump |
Point-in-time, if taken from a locked or quiesced data directory |
| Best dataset size | Small to a few hundred GB | Large / sharded clusters |
| Restore speed | Slow — every document is reinserted and indexes rebuilt | Fast — files are restored as-is |
| Load on the source node | I/O and read-heavy on whichever member runs it | Brief pause or lock, then near-zero |
| Docker complexity | Low — one docker exec, one archive file |
Higher — needs volume-aware snapshotting (LVM, cloud disk snapshot, or a stopped/locked container) |
| Granularity | Can scope to a single database or collection (loses --oplog consistency if scoped) |
Whole data directory only |
For a single or small multi-member replica set under a few hundred GB — which covers most self-hosted SaaS backends — mongodump --oplog is the right default. It's simple, it's well-documented, and it doesn't require you to reason about WiredTiger's on-disk file consistency yourself.
The core setup: mongodump against a secondary
Never run your backup against the primary if you can avoid it — it adds read load and cache pressure to the node your application depends on for writes. Point it at a secondary instead:
docker exec mongo-secondary mongodump \
  --host "rs0/mongo1:27017,mongo2:27017,mongo3:27017" \
  --readPreference secondary \
  --username backup_user \
  --password "$MONGO_BACKUP_PASSWORD" \
  --authenticationDatabase admin \
  --oplog \
  --gzip \
  --archive=/backups/mongo-$(date +%F-%H%M).gz
Two details matter here, both easy to get wrong:
--oplogonly gives you point-in-time consistency on a full dump. The moment you scopemongodumpto a single--dbor--collection, that flag stops guaranteeing consistency across the dump window — it's an all-or-nothing feature.--readPreference secondarydoesn't replace a dedicated backup member. It's a good default, but if your replica set is small (a 3-node set with one primary and two secondaries eligible for election), you're still putting load on a node that might become primary mid-backup. Where possible, add a hidden,priority: 0member whose only job is running backups — it never becomes primary and its load never affects your application.
Copying it out of the container and offsite
The backup living inside the same Docker host as the database it protects isn't a disaster recovery plan — it's a note for whoever inherits the postmortem. After mongodump finishes inside the container, copy the archive out and push it somewhere else entirely:
docker cp mongo-secondary:/backups/mongo-$(date +%F-%H%M).gz ./local-backups/
# then push offsite, encrypted
gpg --symmetric --cipher-algo AES256 ./local-backups/mongo-*.gz
aws s3 cp ./local-backups/mongo-*.gz.gpg s3://your-backup-bucket/mongo/ \
  --storage-class STANDARD_IA
Cloudflare R2 works the same way if that's already part of your stack and avoids S3 egress fees on restore. The two things that actually matter: the backup leaves the host it was taken on, and it's encrypted before it does — a stolen backup archive is a stolen patient or customer database.
Point-in-time recovery: what the oplog actually buys you
A nightly mongodump protects you against losing the whole server. It does not protect you against "someone dropped the wrong collection at 2pm" — for that you need point-in-time recovery (PITR), which replays oplog entries on top of your last full backup up to a specific timestamp, just before the bad write happened:
mongorestore --gzip --archive=/backups/mongo-2026-08-27-0300.gz \
  --oplogReplay \
  --oplogLimit="1756289400:1"
PITR is only as good as your oplog window — the span of history your oplog collection actually retains before it starts overwriting itself. If your oplog window is 6 hours and nobody notices the bad migration until the next morning, there's nothing left to replay. Maintain at least 24–48 hours of oplog window and take --oplog dumps frequently enough (hourly, for anything you can't afford to lose a day of) that the gap between backups never exceeds it.
The part everyone skips: testing the restore
I've seen more backup strategies fail at restore time than at backup time. A mongodump that completes without error tells you the export worked — it tells you nothing about whether mongorestore will succeed against a clean environment, whether your authentication setup will let it in, or whether the archive was silently truncated by a disk that filled up mid-backup.
Run an actual restore, on a schedule, into a disposable Docker container that isn't part of production:
docker run -d --name restore-test mongo:7.0
docker cp ./local-backups/mongo-latest.gz restore-test:/tmp/
docker exec restore-test mongorestore --gzip --archive=/tmp/mongo-latest.gz --oplogReplay
docker exec restore-test mongosh --eval "db.getSiblingDB('yourdb').yourcollection.countDocuments({})"
docker rm -f restore-test
Compare the document count against what you expect. If this isn't automated and running monthly at minimum, you don't have a tested disaster recovery plan — you have an unverified assumption that a .gz file is doing its job.
A simple decision model
mongodump --oplog on a secondary if:
  - Total data size is under a few hundred GB
  - You can tolerate restore times measured in hours, not minutes
  - You want something you can reason about without extra tooling

Move to filesystem/volume snapshots or PBM if:
  - You're past a few hundred GB, or restore speed matters (RTO in minutes)
  - You're running a sharded cluster, where mongodump's cross-shard
    consistency gets genuinely hard to guarantee
  - You need PITR across a cluster, not just a single replica set

Either way, non-negotiable:
  - Backups copied off the Docker host, encrypted at rest
  - Oplog window sized to comfortably exceed your backup interval
  - A restore actually run and verified on a recurring schedule
Wrapping up
The replica set keeps your application up when a node dies. The backup is what saves you when the mistake is inside the data itself — a bad migration, a dropped collection, a compromised container. mongodump --oplog against a secondary, copied offsite and encrypted, covers most self-hosted MongoDB deployments without extra tooling. What actually separates a real disaster recovery plan from a folder of .gz files nobody's opened is the last step: restoring one, on purpose, before you ever need to.
If you're weighing this against your own Docker infrastructure — replica sets, multitenant backends, or the self-hosted BaaS stack I run flexdocs on — I wrote up the full Docker, Nginx, and MongoDB setup in building my own Firebase alternative. For the security side of the same stack, see the API security checklist for SaaS builders.
Related Posts
Related Articles
Rate Limiting and Caching at the API Gateway Layer: Protecting Your Backend From Its Own Traffic
Most outages aren't attacks, they're your own traffic overwhelming itself. A concept-first look at how rate limiting and caching work together at the API gateway to keep one misbehaving client, integration, or traffic spike from degrading service for everyone else.
The Backup Strategy That Actually Protects Your VPS Data (And Why Automation Isn't Optional)
Manual backups fail under pressure, and unmonitored automated ones fail silently. A layered VPS backup strategy, the 3-2-1 rule, application-aware dumps, encrypted off-site transfer, dead-man's-switch monitoring.
Redis Pub/Sub vs Caching vs Rate Limiting: When to Add Each Layer
Redis can cache reads, enforce shared limits, or broadcast events—but each solves a different problem. Learn when to add each layer and when not to.